GTA VI Best Settings Guide: Make Leonida Look Its Best on PS5 and Xbox
By AS Gaming EditorialNovember 19, 20266 min readPlayStationXbox
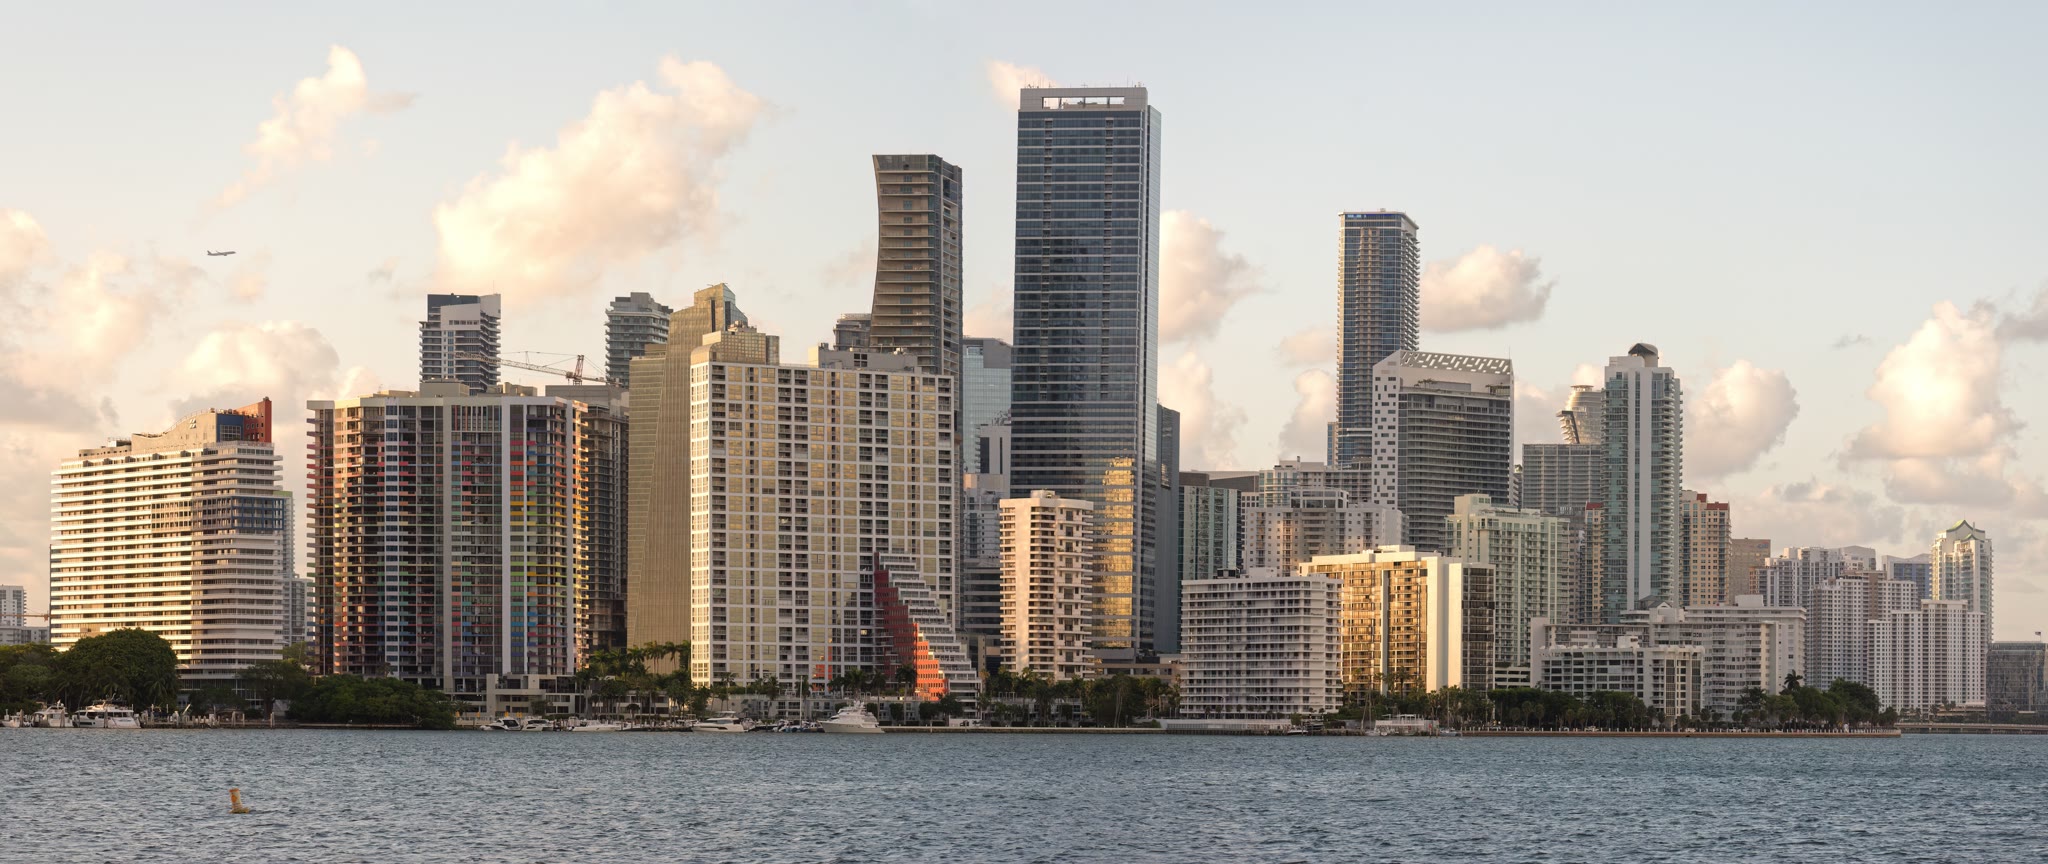
Source: Osh33m via Wikimedia Commons (CC BY-SA 4.0)
Here is the setting that matters most for GTA VI on launch day: there is no performance mode. Rockstar confirmed the game targets 30 frames per second on every console, and there is no 60fps toggle hiding in the menus. So the GTA VI best settings are the ones that make your TV and console show Leonida the way Rockstar built it.
This guide covers what each console actually runs, the TV settings that make the biggest difference, and the exact menu paths on PS5 and Xbox. Five minutes of setup now beats an evening of wondering why the game looks washed out.
What each console actually runs
Digital Foundry measured the internal rendering resolution at 1440p on PlayStation 5, PS5 Pro and Xbox Series X, upscaled to a 4K output. The game leans hard on ray traced global illumination and reflections, the lighting that makes a wet Vice City street look like a photograph instead of a video game. That lighting, plus a simulation running traffic, crowds, weather and wildlife all at once, is why the frame budget sits at 30.
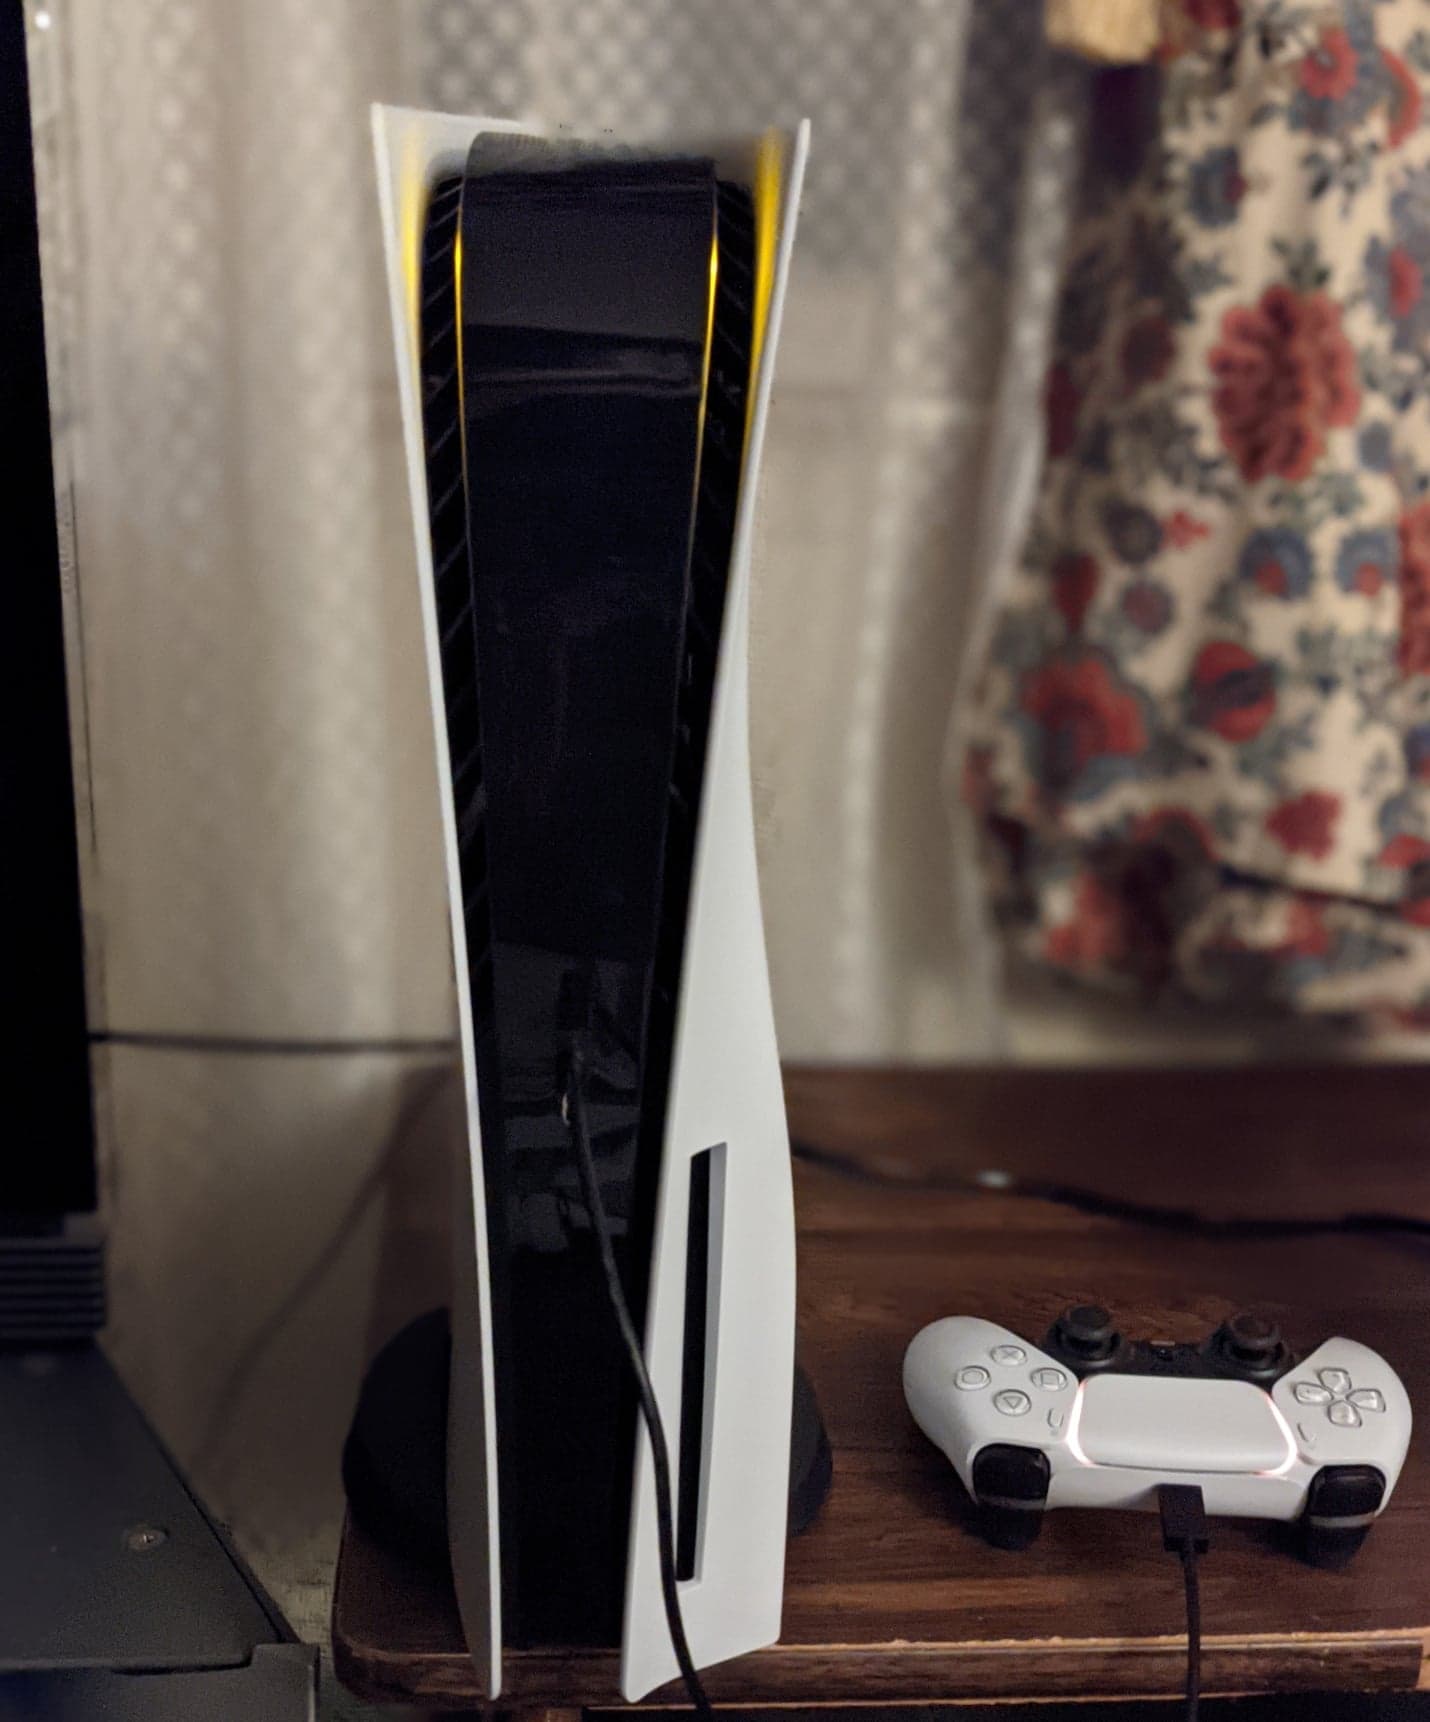
The base PlayStation 5 holds 30 in most situations and can dip toward 25 during long explosions. The PS5 Pro renders at the same 1440p internally, but PlayStation Spectral Super Resolution upscaling produces an image Digital Foundry says convincingly passes for native 4K, plus ray traced shadows that only the Pro gets. Frame pacing was the steadiest of the four consoles in testing, with dips only when multiple cars were blown up at once, down to around 24fps in that chaos. If you own a Pro, this is simply the best console version.
Xbox Series X tracks close to the Pro, with a stable 30 in review play and its own TAA upscaling solution. Xbox Series S is the rough one. It renders at 720p internally, upscaled to 1080p with AMD FSR, with visibly reduced texture detail and thinner crowds. The frame rate is the loosest of the four, often in the mid to high 20s and dropping toward 20, occasionally 18 to 19, in explosive shootouts. If you are on Series S, the TV settings below matter even more, because the image has less detail to work with.
Your TV is half the picture
Most people play on TVs set up for movies, not games. Three changes do most of the work. First, turn on Game Mode, or ALLM (auto low latency mode), which switches off heavy picture processing that adds input lag. Many TVs switch automatically when they detect a console. Second, plug the console into the right port: on many TVs only one or two ports support HDMI 2.1, and you need to enable the enhanced HDMI format for that port. Third, turn motion smoothing off. It makes films look smoother and games look smeared.
Then comes HDR. The best order is: set the TV first, then run the console calibration, so the calibration matches the final TV settings. Switch tone mapping to HGiG (HDR Gaming Interest Group) if your TV has it. HGiG lets the console handle HDR tone mapping once, so highlights keep their detail instead of clipping to white. On LG, Samsung, TCL, Hisense and Sony sets the option lives in the picture settings under tone mapping or HDR mode.
At 30fps, picture accuracy and low input lag matter far more than refresh rate. Setting 120Hz output and VRR to automatic will not change GTA VI, but it keeps your other games working correctly, so leave them on.
PS5 setup, step by step
Go to Settings, then Screen and Video, then Video Output. Set Resolution to Automatic and 4K Video Transfer Rate to Automatic. Set HDR to On When Supported, then run Adjust HDR and follow the on-screen prompts. Always On converts standard dynamic range apps to HDR, which you do not need.
Set 120 Hz Output to Automatic and VRR to Automatic if your TV supports them. Then go to Saved Data and Game/App Settings, then Game Presets, and set your preferred performance or resolution mode as the default where games support it. GTA VI does not offer the choice, but your other games will use it.
If the image still looks dark or washed out, check two things: the enhanced HDMI format is enabled for the port you are using, and HGiG is on. Those two fix most complaints. Our GTA VI beginner guide covers what to do once you are actually in Leonida, and the day-one update 1.002.000 is live if you have not installed it yet.
Xbox setup, step by step
Press the Xbox button, open Settings, then General, then TV and display options. Set resolution to 4K UHD on Series X, or your TV's maximum, and refresh rate to 120 Hz if supported. Check 4K TV details to confirm your TV supports HDR10 and 4K at 120Hz.
Run the HDR Game Calibration app (listed as Calibrate HDR for Games in the setup flow) and follow the prompts. Under Advanced, then Video Modes, turn on Allow Variable Refresh Rate and Allow Auto Low Latency Mode. As on PS5, make sure the console is on an HDMI 2.1 port with the enhanced format enabled, and switch the TV to HGiG tone mapping.
Series S owners should also double-check the install: the game needs up to 212GB, and our GTA VI launch prep guide has the preload dates and storage checklist if you are still clearing space.
The settings that matter most
If you do nothing else, do these five things: Game Mode on, motion smoothing off, the right HDMI port with the enhanced format enabled, HGiG tone mapping, and the console's HDR calibration run last. That is the whole setup, and it takes about five minutes.
The 30fps target is not changing at launch, and Rockstar North's Rob Nelson has said further options may come later, according to GamesRadar. Until then, the best version of GTA VI is the one with a calibrated TV, a clean HDR pass and no extra processing in the way. Leonida is doing the heavy lifting already. Your job is to get out of its way.